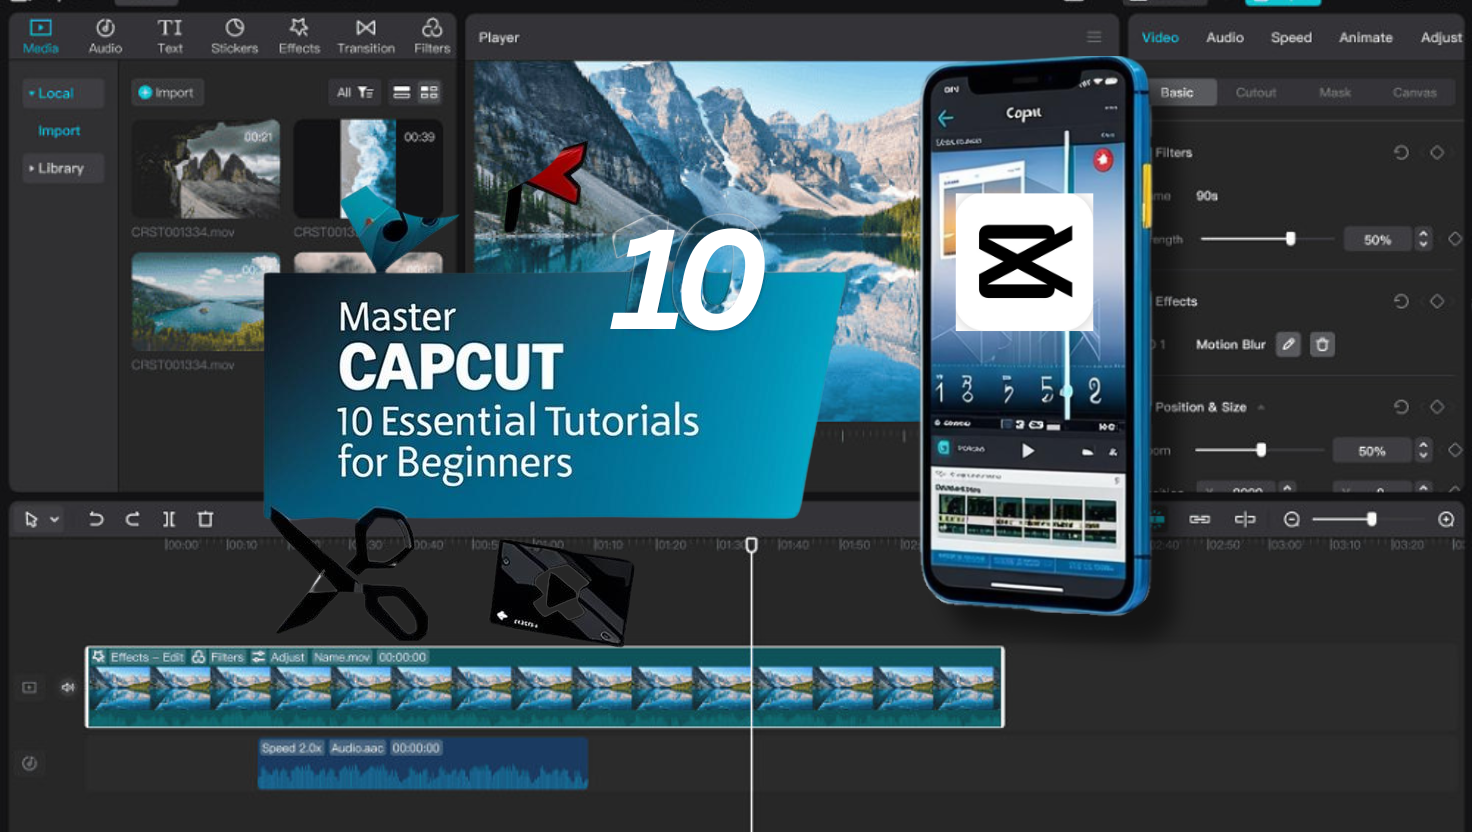
With over 200 million monthly active users (Source: DataReportal, 2023), CapCut has become a powerhouse for video editing, especially for beginners. Whether you’re crafting content for TikTok, Instagram, or YouTube, these CapCut tutorials for beginners will help you master the app’s core features. Let’s dive in!
1. CapCut Tutorials for Beginners: Getting Started with the Interface
Step-by-Step Guide:
- Download CapCut: Available on iOS and Android.
- Create a New Project: Tap “+” and select your clips.
- Explore Key Sections:
- Timeline: Arrange clips and audio.
- Preview Window: Watch edits in real-time.
- Toolbar: Access text, effects, and filters.
Pro Tip: Use pre-made templates for quick projects (e.g., TikTok trends).
2. How to Trim and Split Clips in CapCut
Steps:
- Tap a clip in the timeline.
- Drag the edges to trim or tap “Split” (✂️ icon) to cut sections.
- Delete unwanted parts.
Example: Split a 1-minute clip into 15-second segments for TikTok.
Pro Tip: Cut on action (e.g., a hand clap) for smoother transitions.
3. Adding Text and Titles: CapCut Basics
Steps:
- Tap Text > Add Text.
- Customize fonts, colors, and animations.
- Align titles using the Adjust tool.
Pro Tip: Use Text Presets like “Fade In” for intros.
4. Using Filters and Effects in CapCut
Steps:
- Tap Effects or Filters in the toolbar.
- Apply “Blur” for focus or “Vintage” for retro vibes.
- Adjust intensity with the slider.
Example: Boost engagement with the trending “Glitch” effect.
5. Applying Transitions: Smooth Scene Changes for Beginners
Steps:
- Tap the Transition icon between clips.
- Choose “Slide,” “Fade,” or “Zoom.”
- Adjust duration (0.5s works best for short videos).
Pro Tip: Stick to 1-2 transition styles per video for consistency.
6. Incorporating Music and Sound Effects
Steps:
- Tap Audio > Add Music.
- Browse CapCut’s royalty-free library or import tracks.
- Trim audio to match video length.
Pro Tip: Use Beat Snap to align cuts with song beats.
7. Adjusting Speed: Slow Motion & Fast Forward
Steps:
- Tap a clip > Speed.
- Drag the slider for slow-mo (0.5x) or speed-up (2x).
- Apply “Curve Speed” for dynamic pacing.
Example: Highlight a dance move with 0.3x slow motion.
8. Using Keyframes for Advanced Animations
Steps:
- Tap a clip > Keyframes (diamond icon).
- Set start/end points for zoom, rotation, or opacity.
- Watch the animation auto-generate.
Pro Tip: Use keyframes to create cinematic panning shots.
9. Exporting Your Video: CapCut Tutorial for Beginners
Steps:
- Tap Export (top-right).
- Choose resolution (1080p recommended) and frame rate (30fps).
- Save to your device or share directly.
Pro Tip: Enable “60fps” for buttery-smooth gameplay clips.
10. Sharing Your CapCut Videos on Social Media
Steps:
- Tap Export > Share to [Platform].
- Use Auto-Caption for accessibility.
- Add hashtags like #CapCutTutorial for visibility.
Pro Tip: Repurpose vertical videos for TikTok and Instagram Reels.
Conclusion
These CapCut tutorials for beginners cover everything from trimming clips to mastering keyframes. With practice, you’ll create polished videos that stand out. Ready to level up? Explore our guide to Top 5 Video Editing Apps for 2024 or learn how to Optimize Videos for Social Media.
Your Turn: Open CapCut and try one tutorial today—share your results with #ProTecCapCut!
Sources:


